这篇文章上次修改于 750 天前,可能其部分内容已经发生变化,如有疑问可询问作者。
简陋版本,真有需求上eCapture即可
【注意:】具体libssl.so的路径,请以cat /proc/pid/maps | grep libssl.so得到的结果为准
有的手机APP进程实际使用的可能是这样的
- /apex/com.google.mainline.primary.libs@341050000/lib64/libssl.so/.../libssl.so
追踪SSL_write:
./stackplz -n com.xingin.xhs -l /system/lib64/libssl.so -w SSL_write[buf:x2:x1,int:x2] --dumphex --color -o tmp.log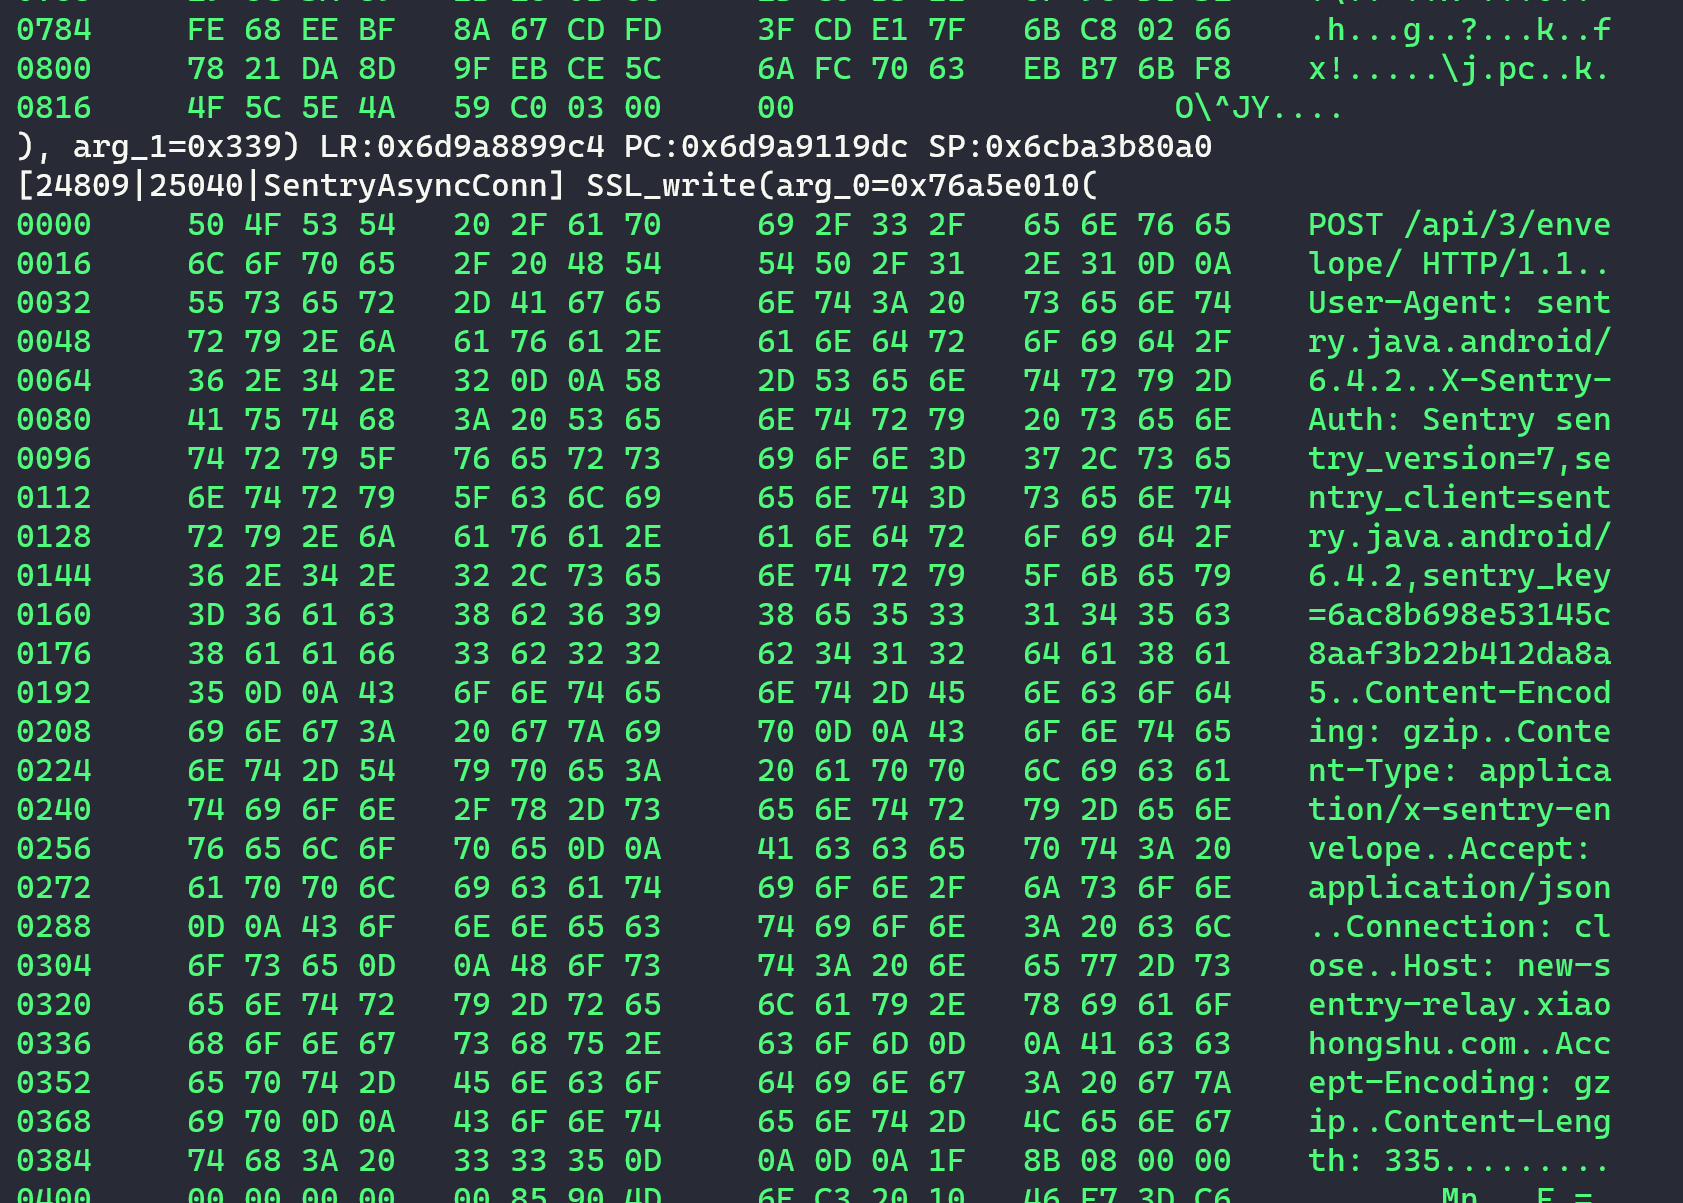
追踪SSL_read:
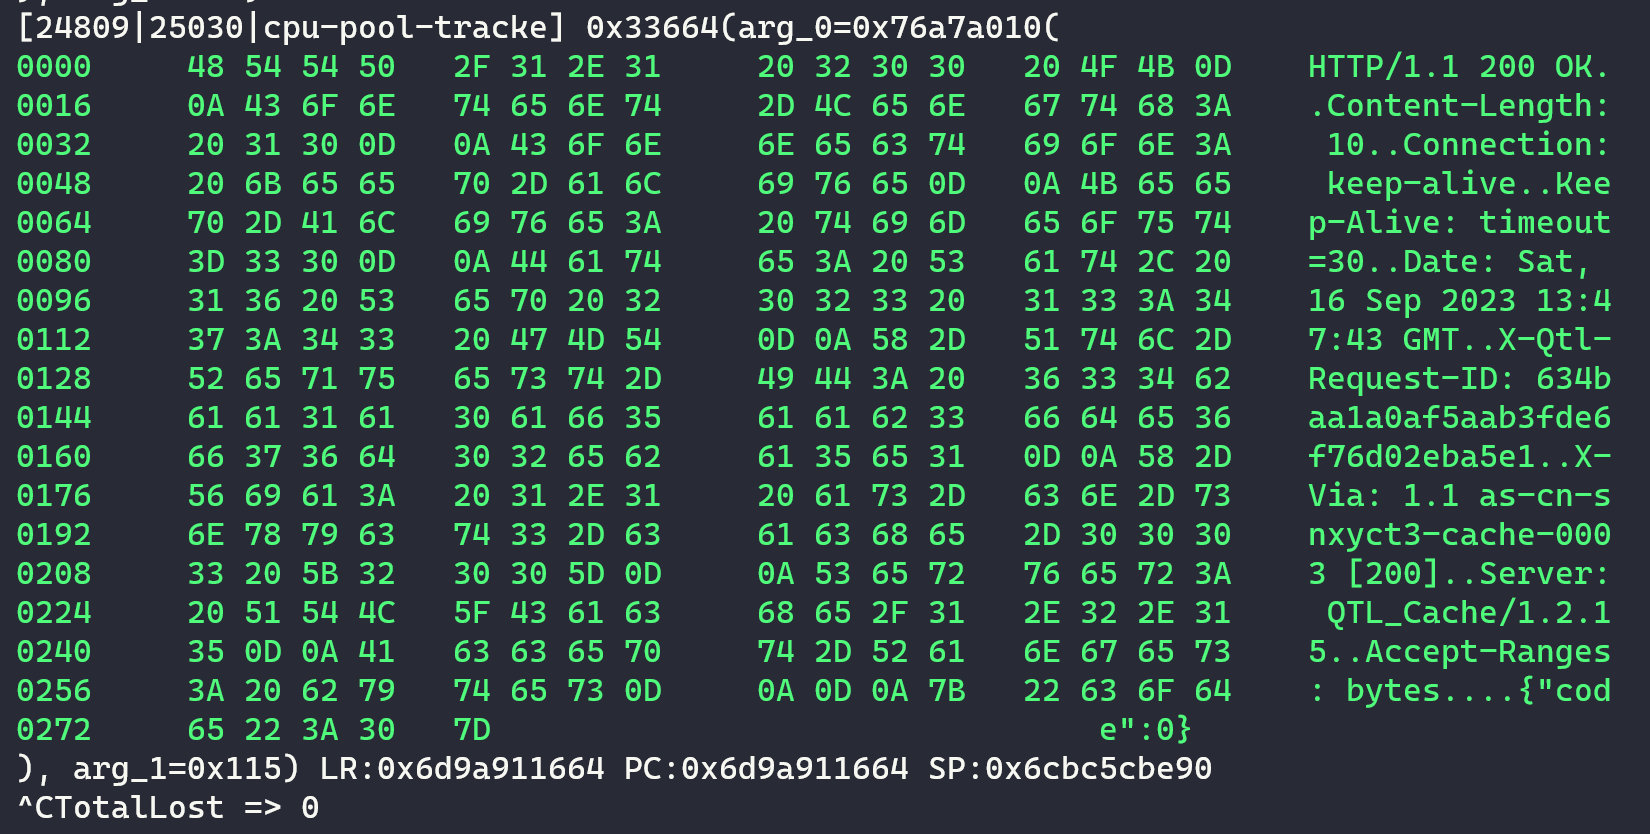
./stackplz -n com.xingin.xhs -l /system/lib64/libssl.so -w 0x33664[buf:x19:x21,int:x19] --dumphex --color -o tmp.log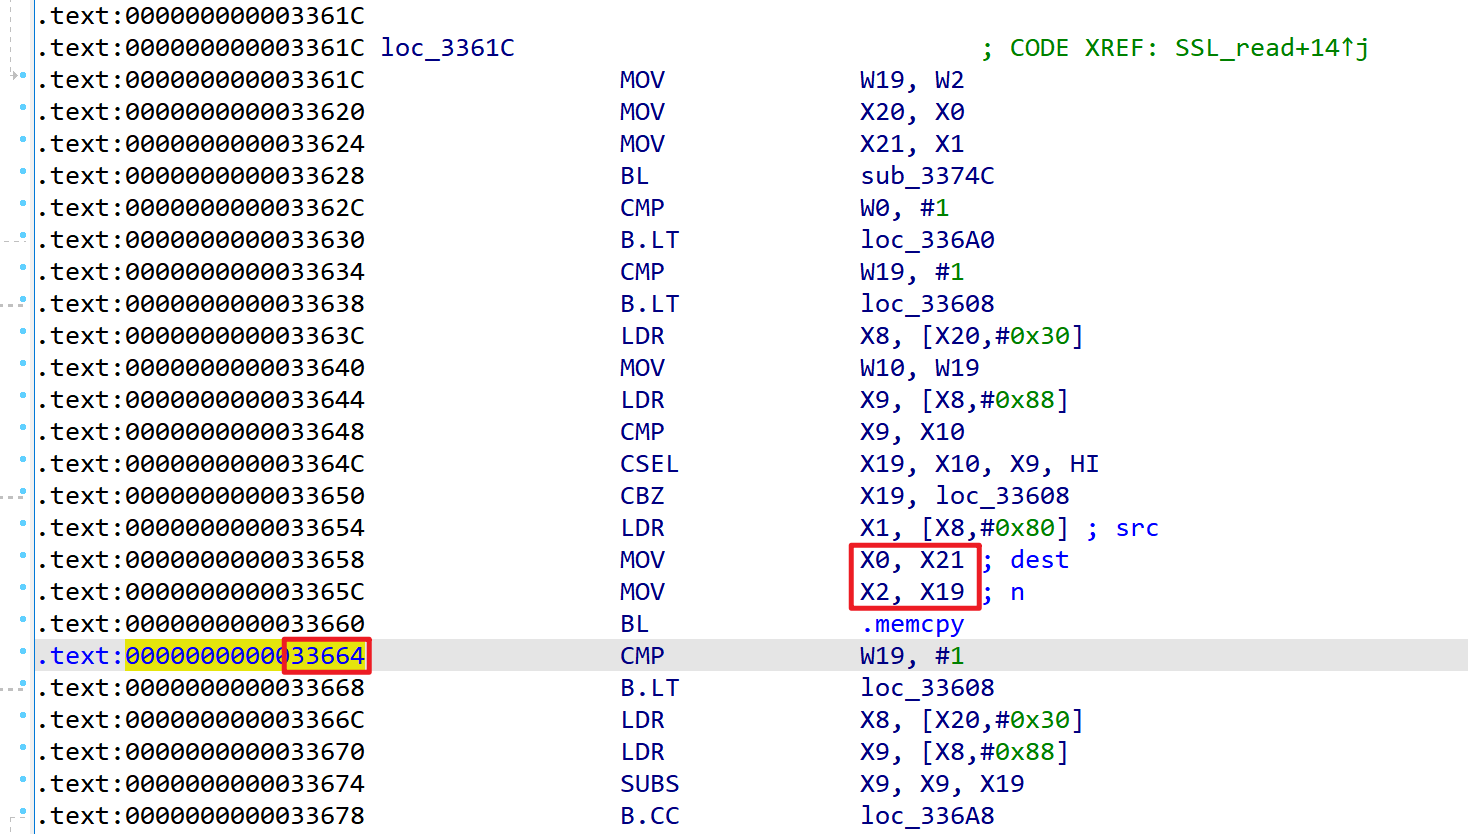
追踪RegisterNatives示例:
定位到一个合适的位置,然后读取对应的数据,fnPtr是函数地址,参数没有计算偏移的功能
不过可以使用--reg选项来计算偏移~
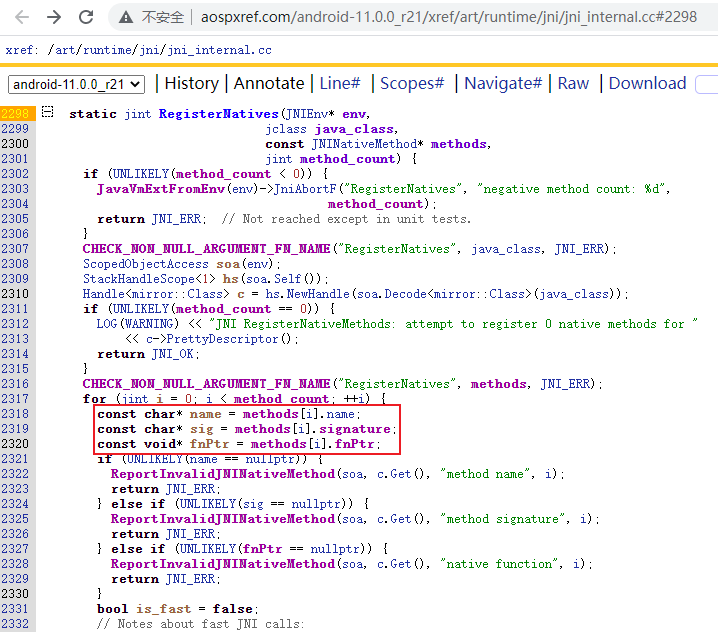
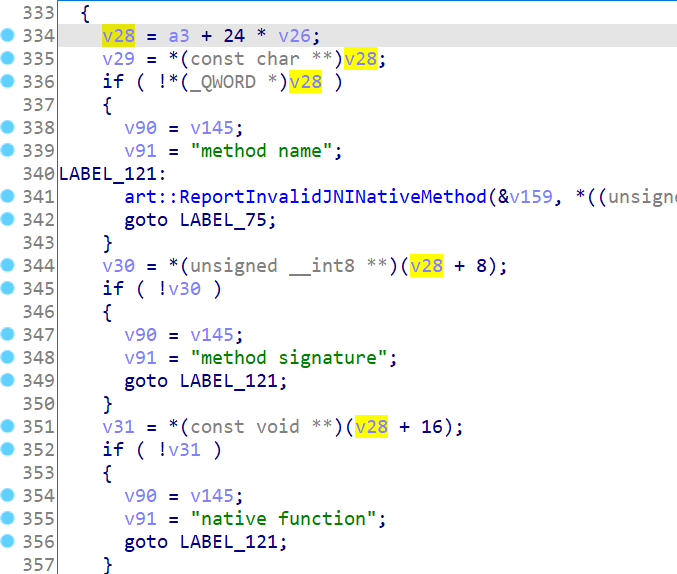

./stackplz -n com.xingin.xhs -l libart.so -w 0x4B8A74[str:x22,str:x8] --tname com.xingin.xhs --reg x28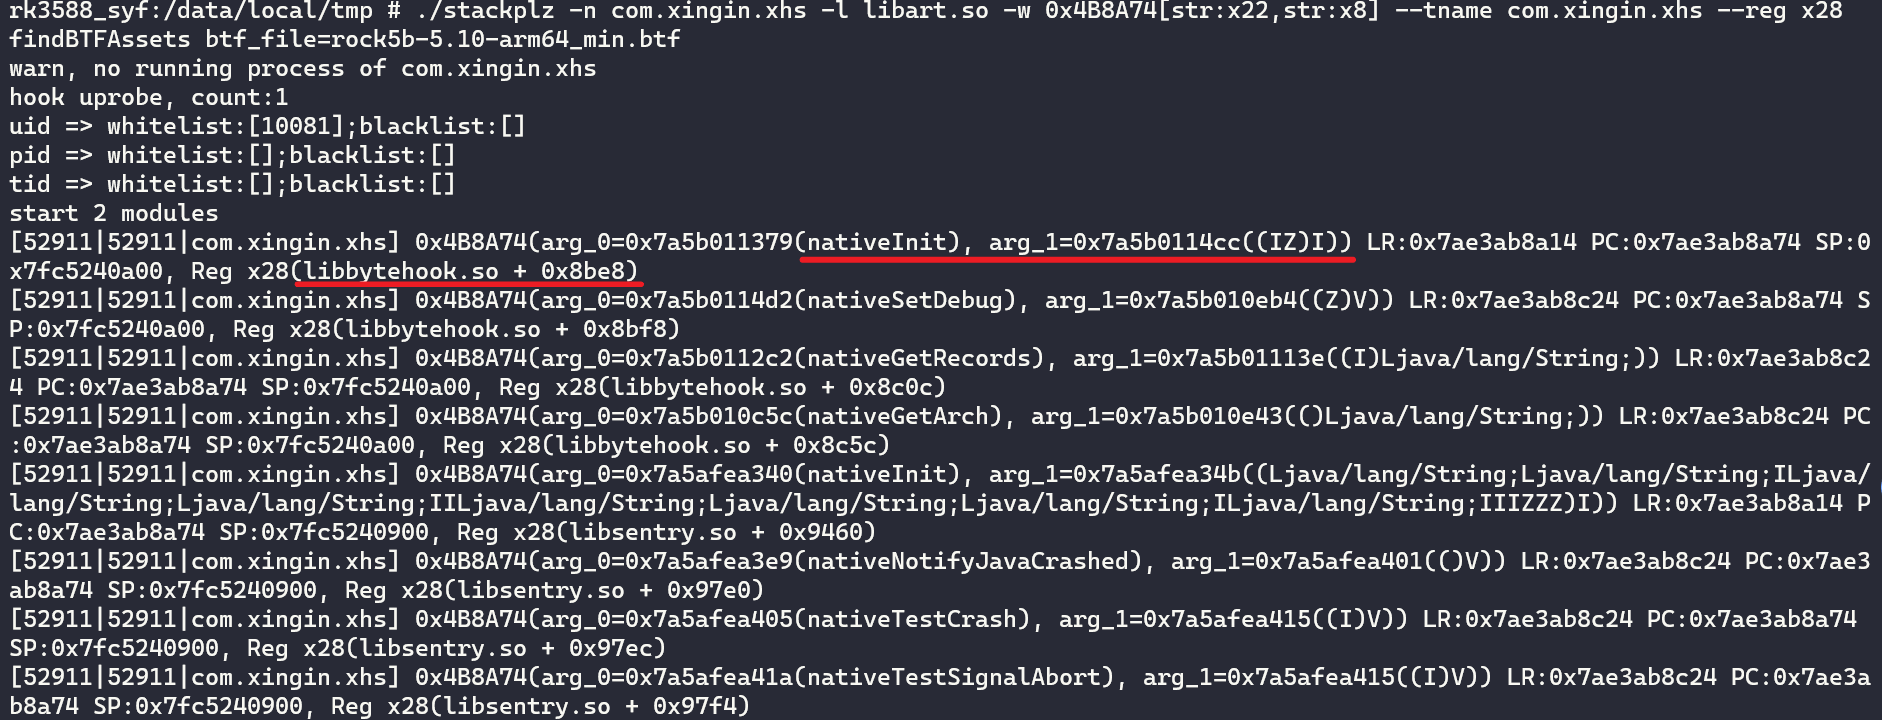
pipe2执行后,原本的传入参数将被写入两个fd信息
如果使用stackplz追踪syscall,那么将直接输出执行后的结果
./stackplz -n icu.nullptr.nativetest -s pipe2
不过这里想演示下:如何通过uprobe对pipe2执行后的参数进行获取
如图所示,这里的SVC调用执行后X0就变了

再看看libc中的上一级调用,比如这里可以看到X20存有X0寄存器的值,而且在SVC执行之后X20并不会改变
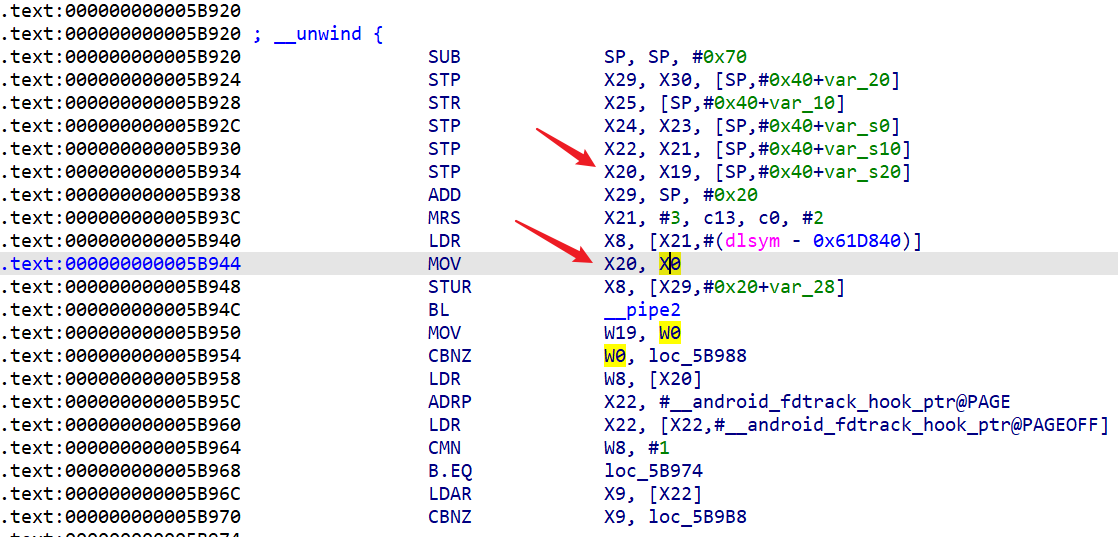
那么可以通过下面的命令,实现对原libc中pipe2的参数一,在系统调用结束之后去获取其中的结果:
./stackplz -n icu.nullptr.nativetest -l libc.so -w 0x5B950[*int:x20,*int:x20+4]
PS: 图中arg_0和arg_1是一样的,原因是目前没有把偏移算进去,后续可能会改进这个情况
stackplz没有提供直接对函数执行结束后的hook功能,不过目前引入了--dumpret
通过该选项,可以解析出给定符号关键词的返回指令偏移,使用该偏移快速下uprobe断点同样能达到预期效果
./stackplz -n com.xingin.xhs -l libart.so -w GetStringUTFChars --dumpret
现在就可以使用下面的命令完成对GetStringUTFChars的追踪了
./stackplz -n com.xingin.xhs -l libart.so -w 0x4a4910[str] --getoff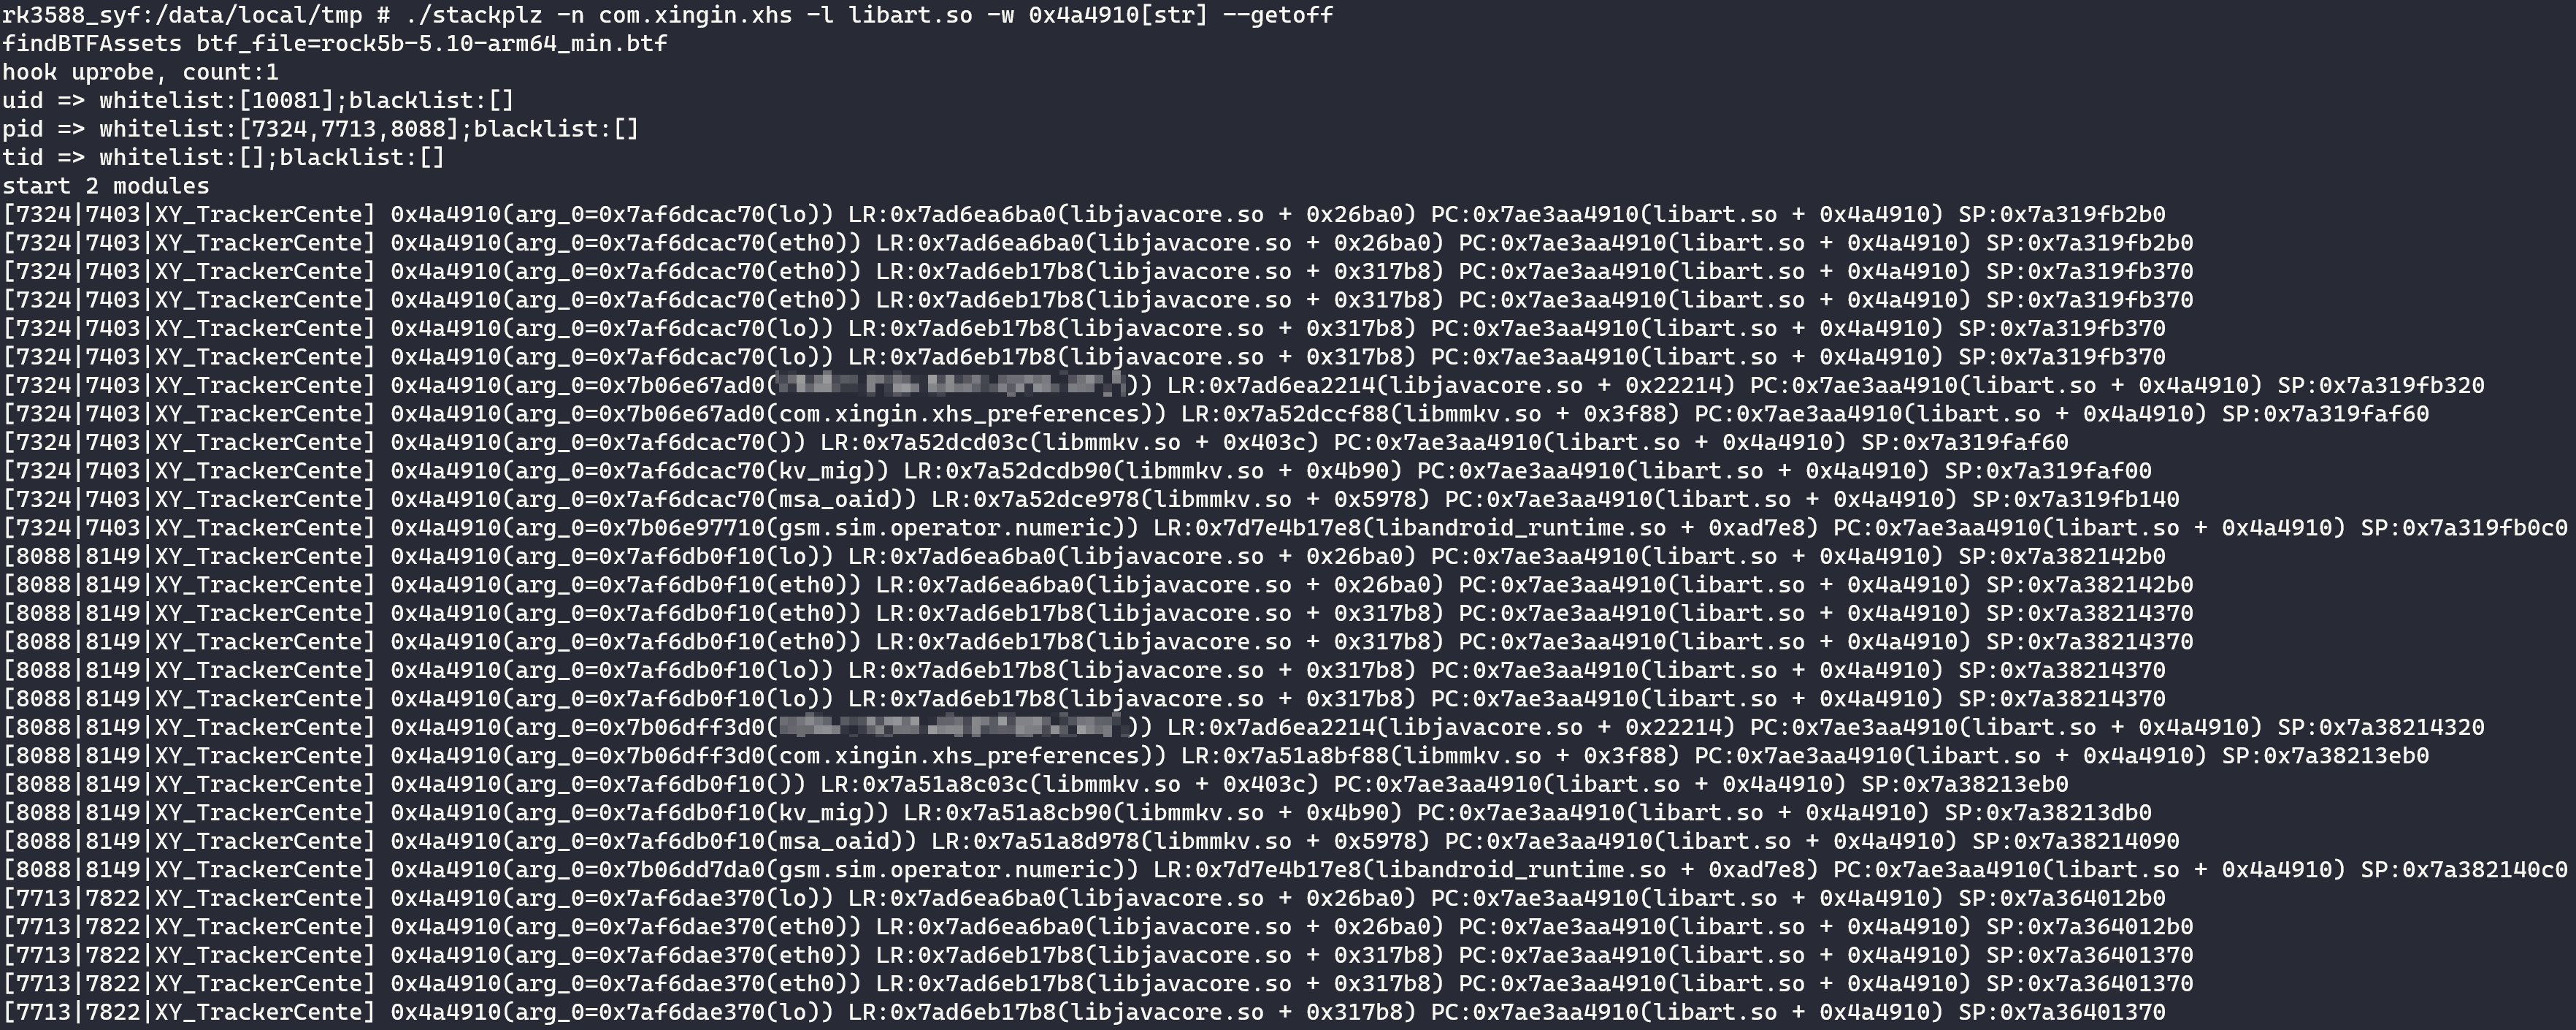
查看lua_load加载的代码内容:
./stackplz -n com.test.example -l liblibGameApp.so -w lua_load[ptr,ptr,str:x2.,str,str] -o tmp.log
没有评论